Swift Package Manager (SPM) has emerged as a powerful tool for simplifying the development and distribution of libraries and packages in the Swift ecosystem. If you want to create an iOS SDK using Swift and SPM, you’re in for a treat. In this article, we’ll embark on a journey through building, distributing, and editing an iOS SDK using Swift Package Manager.
1. Building Your iOS SDK
Creating an iOS SDK with SPM is like assembling the pieces of a puzzle:
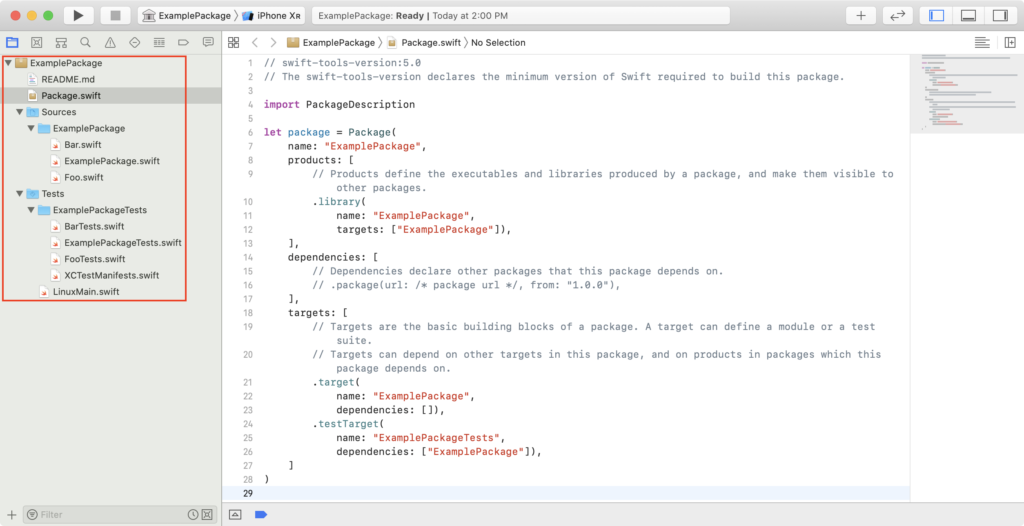
- Initializing the Project: Begin by opening Xcode and creating a new Swift Package. Use the terminal or Xcode’s GUI to generate the basic structure.
- Defining Targets: Within your package, define your targets. In the context of an iOS SDK, you might have a public target for the SDK interface and an implementation target.
- Adding Files: Add your SDK’s source code files to the appropriate targets. Remember, what’s private should stay private within your implementation target.
- Dependencies: Declare your package’s dependencies in the
Package.swiftfile. You can pull in other Swift packages or system libraries as needed.

2. Distributing Your iOS SDK
Once your SDK is ready, sharing it with fellow developers becomes a breeze:
- Versioning: In the
Package.swiftfile, specify your package’s version using semantic versioning. This helps users understand the significance of updates. - Creating a Release: When you’re ready to share your iOS SDK, create a release on your preferred version control platform (like GitHub). This ensures that your SDK is accessible with a specific version tag.
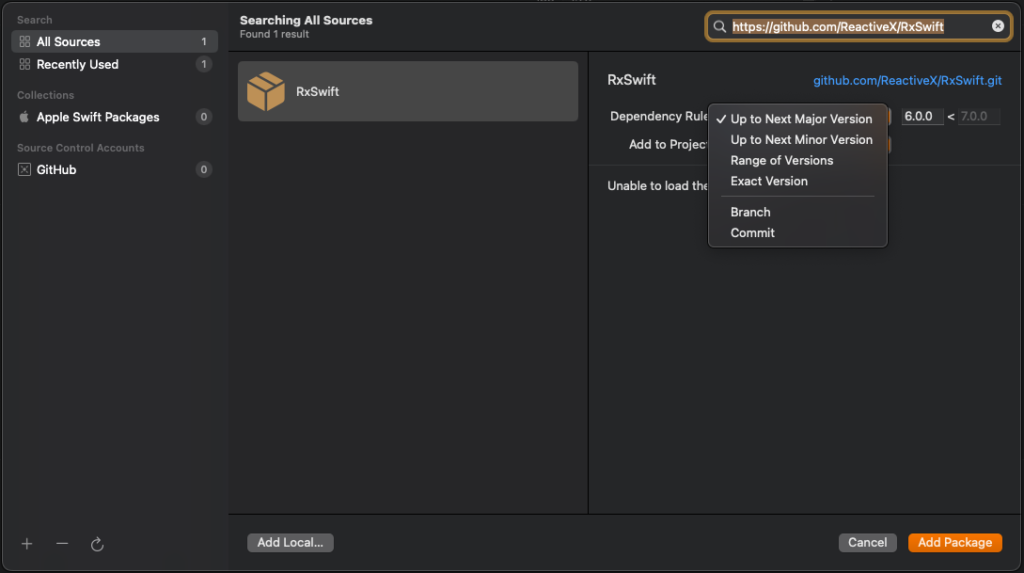
- Integration: Users can now integrate your iOS SDK into their projects using SPM. They simply add your package URL and version to their
Package.swiftfile.

3. Editing Your iOS SDK
The journey doesn’t stop after releasing your SDK. Continuous improvement is the key:
- Updating Dependencies: As your SDK evolves, you might need to update dependencies. Use the Swift Package Manager commands to manage these changes.
- Iterative Development: As you receive feedback and discover bugs, make iterative improvements to your iOS SDK. Fix issues, enhance features, and refine your API.
- Version Bumping: When you make significant changes, bump the version number following semantic versioning principles. Inform users of breaking changes in your release notes.
4. Tips and Best Practices
A few tips to guide you on this SDK adventure:
- README Magic: Craft a comprehensive README file for your GitHub repository. Describe your SDK’s purpose, features, installation instructions, and usage examples.
- Continuous Integration: Implement CI/CD pipelines to automatically build and test your SDK with every commit. Services like GitHub Actions or Travis CI can help.
- Tagging Releases: Use version tags for your releases. This allows users to choose a specific version for their projects, ensuring stability.
Conclusion
Creating an iOS SDK using Swift Package Manager brings the power of simplicity and modularity to your development journey. By mastering the art of building, distributing, and editing your iOS SDK, you empower fellow developers with an easy-to-integrate solution. Swift Package Manager has unlocked a new dimension in iOS development, and with it, you’re now equipped to embark on your iOS SDK creation adventure. So go forth, craft amazing iOS SDKs, and contribute to the flourishing Swift ecosystem! 🚀📱
